Eclipse创建JSP项目(图解)
本节我们在 Eclipse 中创建一个简单的 JSP 文件。
使用 Eclipse 创建 JSP 文件分为 3 个步骤:

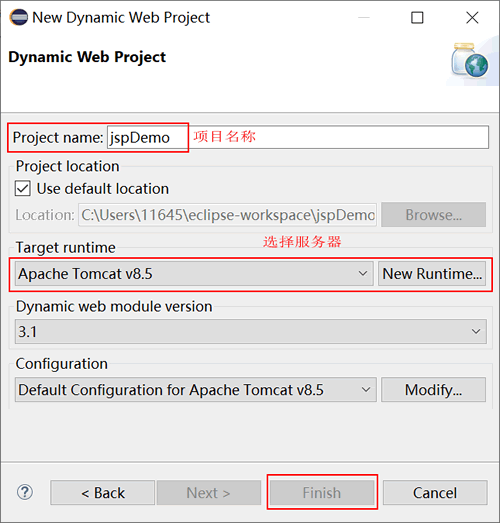
输入项目名称,配置服务器,点击完成。
 index.jsp 代码如下:
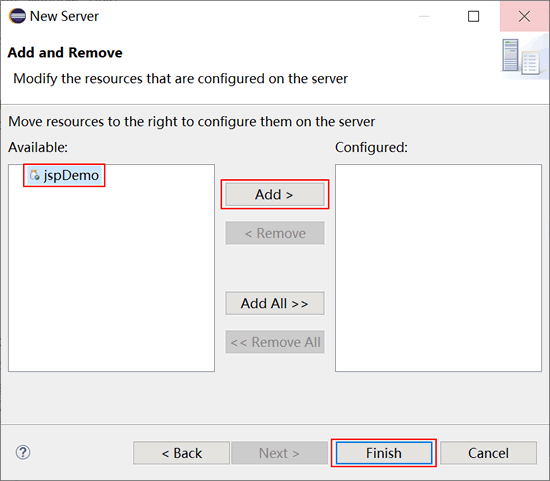
选择 Tomcat 服务器,点击Next -> 选中项目 -> Add(也可双击项目直接部署到Tomcat上)-> Finish。
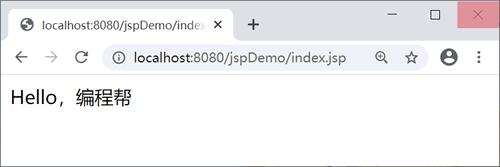
启动 Tomcat 服务器,在浏览器输入相应的 URL,例如:http://localhost:8080/jspDemo/index.jsp,页面如下。
使用 Eclipse 创建 JSP 文件分为 3 个步骤:
- 创建动态 Web 项目
- 创建 JSP 文件
- 启动 Tomcat 服务器,部署项目
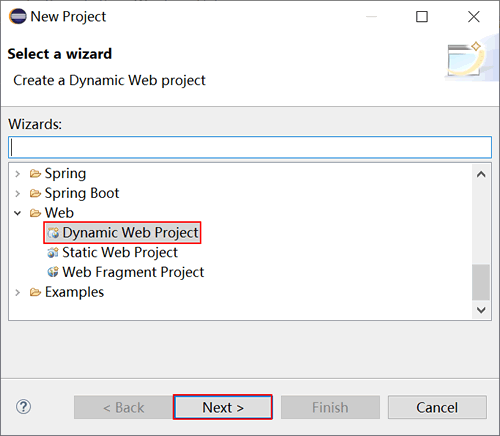
1. 创建动态Web项目
打开 Eclipse,单击 File -> New -> Project -> Dynamic Web Project,如下图所示:输入项目名称,配置服务器,点击完成。
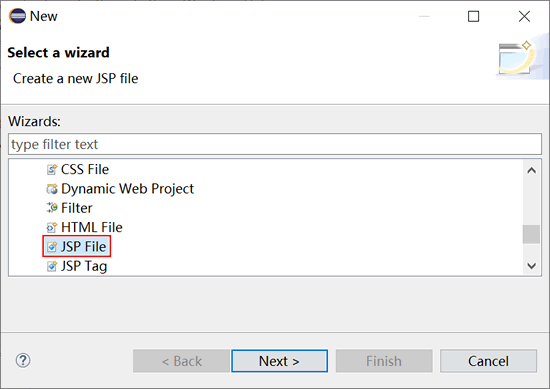
2. 创建JSP文件
在项目的 WebContent 目录单击鼠标右键,按顺序依次单击 New -> Other -> JSP File -> Next,输入文件名 index.jsp,如下图所示。
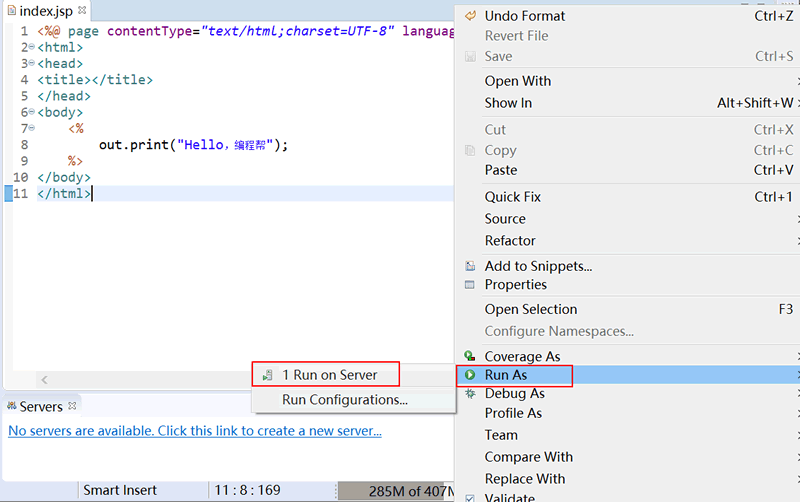
<%@ page contentType="text/html;charset=UTF-8" language="java"%>
<html>
<head>
    <title></title>
</head>
<body>
    <%out.print("Hello,编程帮");%>
</body>
</html>
3. 启动服务器并部署项目
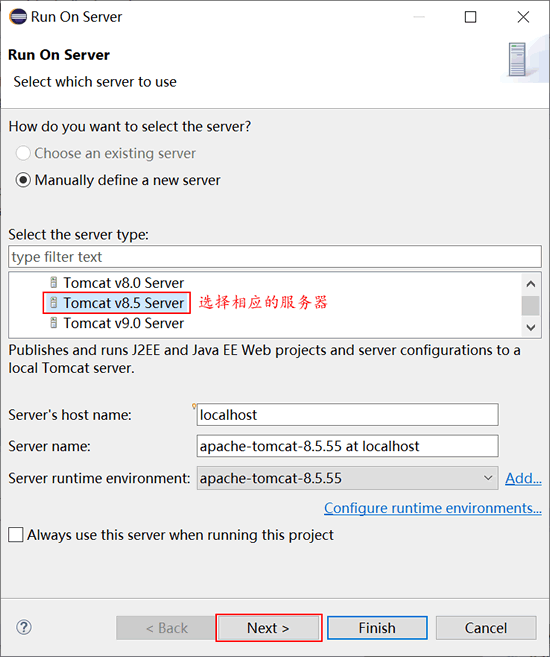
运行 JSP,在您的 JSP 页面中单击鼠标右键,单击 Run As -> Run on Server,如下图所示。选择 Tomcat 服务器,点击Next -> 选中项目 -> Add(也可双击项目直接部署到Tomcat上)-> Finish。
启动 Tomcat 服务器,在浏览器输入相应的 URL,例如:http://localhost:8080/jspDemo/index.jsp,页面如下。
 ICP备案:
 公安联网备案: